Cinematic studio lighting is most effective when colour supports the portrait instead of covering it. A photography brief that closed on 28 August 2026, The Game of Light – Master the Glow, asked photographers to treat light as the storyteller through contrast, silhouettes, soft glow and cinematic highlights. That idea is useful beyond competitions: a coloured portrait should communicate mood while preserving the model’s expression, styling and believable skin tone.
Begin with one neutral key light. Place a soft source slightly above eye level and around 30 to 45 degrees from the face, then adjust it until both eyes have life and the cheekbones hold gentle shape. This light establishes accurate exposure and skin colour. If every source carries a saturated gel, correcting the face later becomes difficult and the portrait can lose the human anchor that makes colour meaningful.
Add the coloured light as an accent rather than a rescue. A violet, blue or magenta source can skim the shadow side, illuminate the background or create a narrow edge along the hair and shoulder. Move it farther to the side when colour spills across too much of the face. The practical goal is separation: the neutral key describes the person, while the gelled source describes the atmosphere around her.
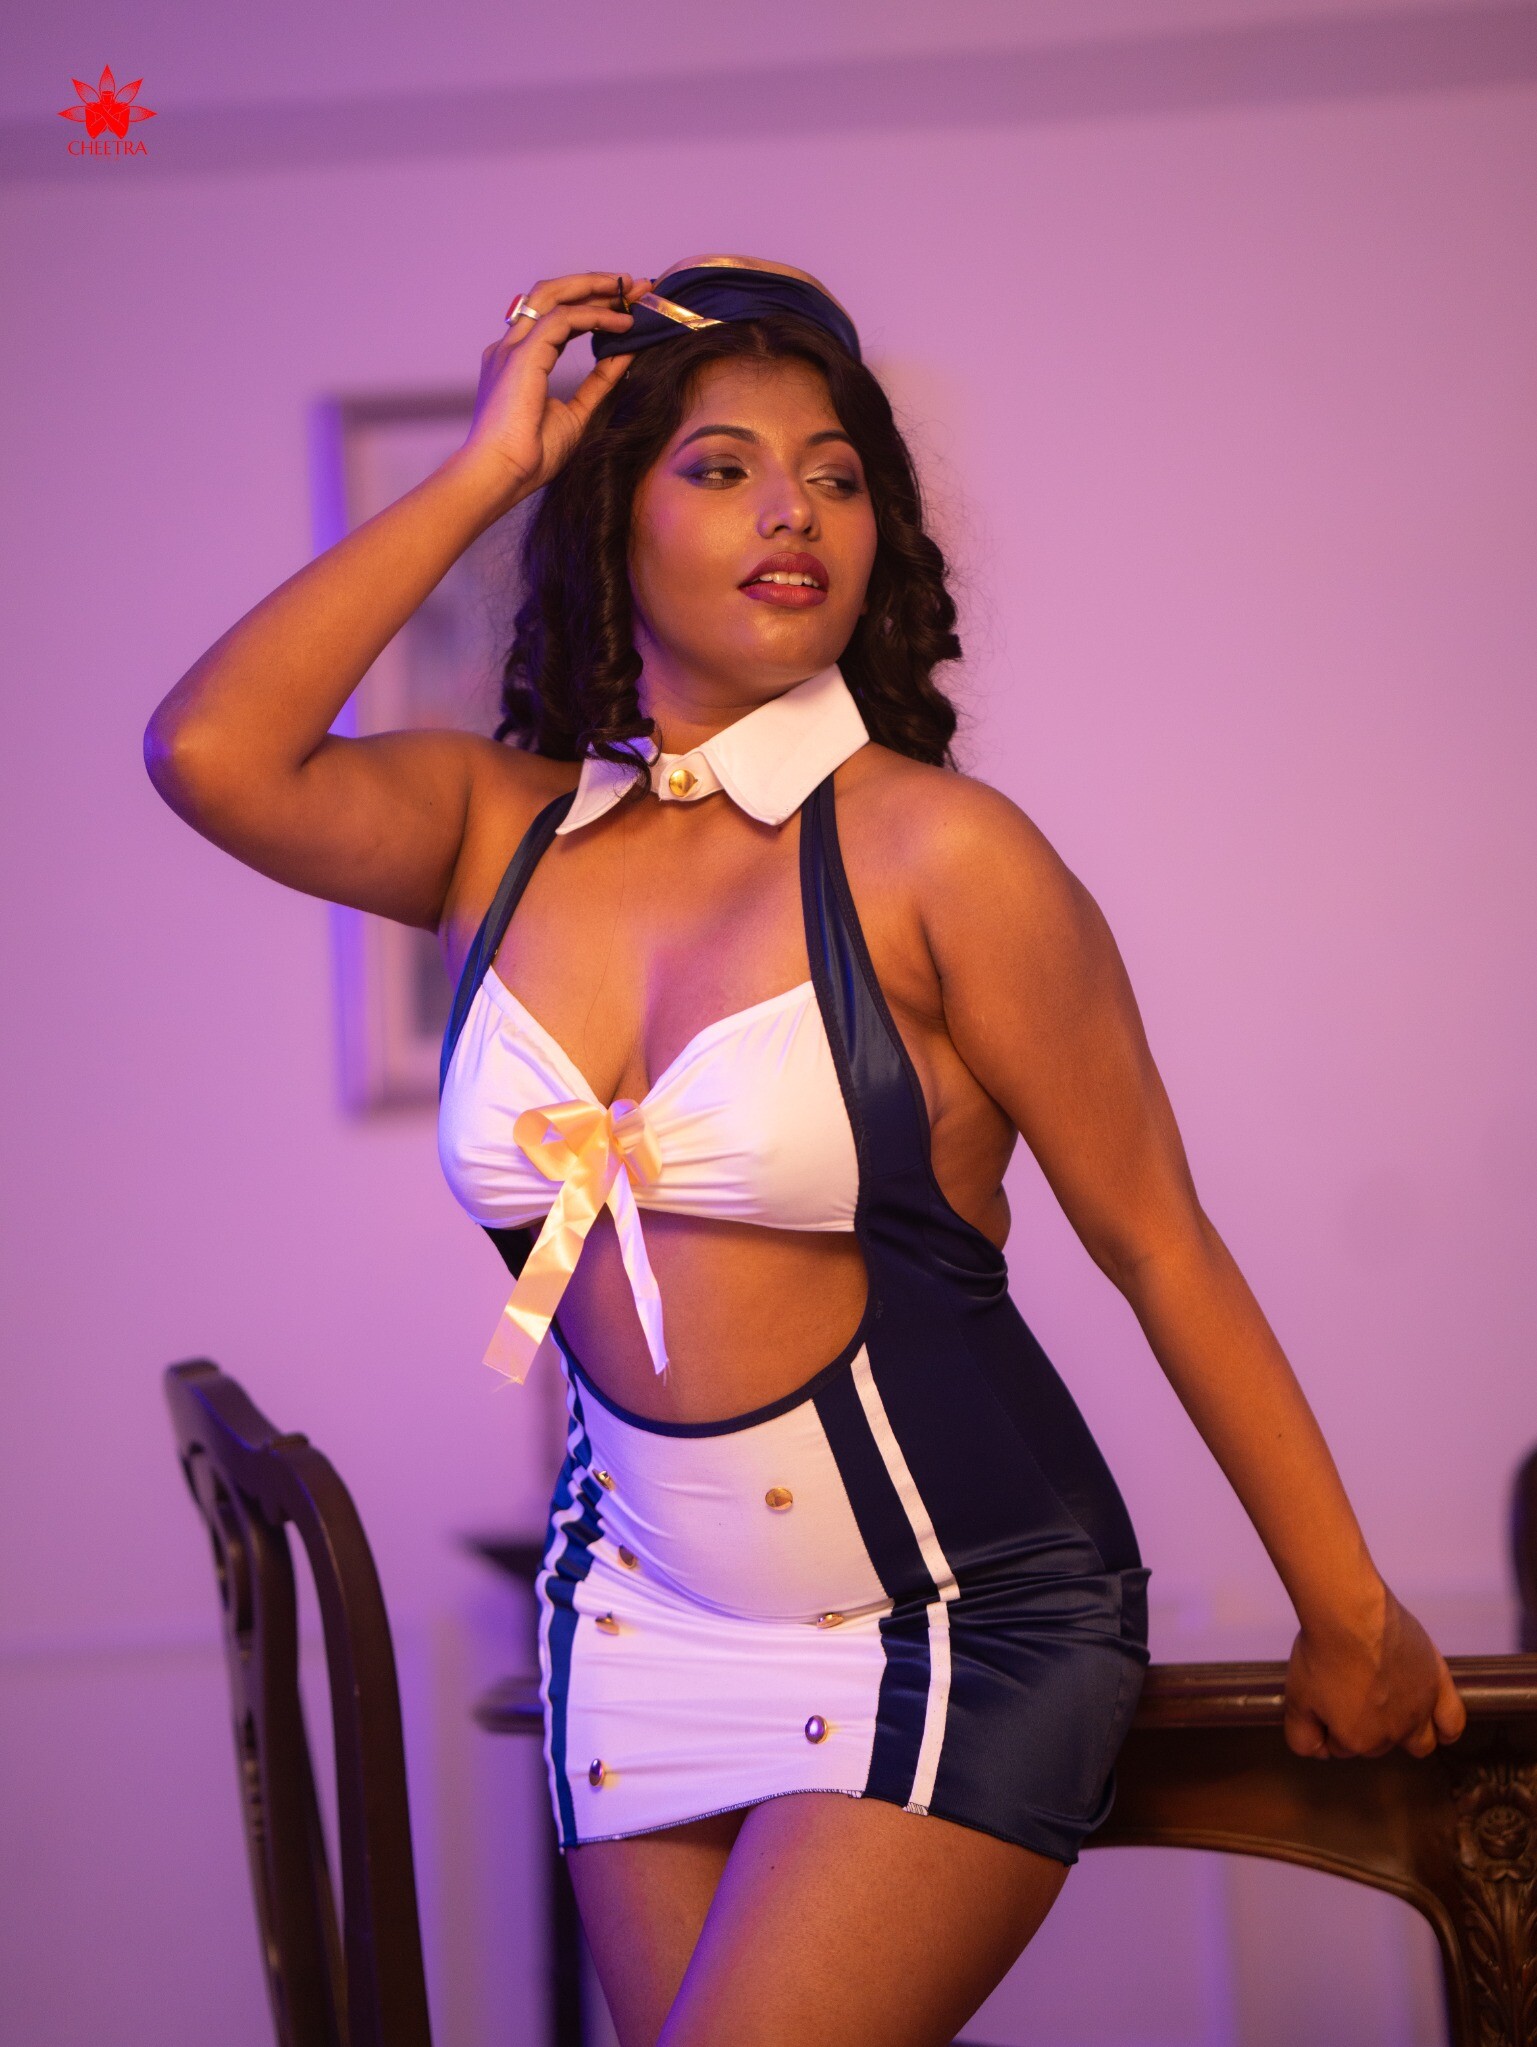
Tanisha Shaw’s Cheetraview cover demonstrates that balance. Her official portrait uses a navy-and-white sailor-inspired fashion look with bow details, a lifted hand near the cap and playful violet light. The coloured ambience connects the styling to the room, but warm light still keeps her face readable. The pose also gives the light useful surfaces—the raised arm, cap, collar and contrasting panels create a clear path through the frame.
Exposure control matters more with saturated colour. Start by protecting highlights in pale fabric and reflective details, then check whether the gel colour remains distinct in the midtones. If the accent becomes nearly white, reduce its power or move it farther from the subject. If shadows become muddy, bring the neutral key closer or add a small white reflector rather than increasing every light at once.
White balance should be chosen for the key light, not used to cancel the whole effect. A consistent camera setting makes a series easier to edit, while the coloured source keeps its intended character. Photograph a neutral reference before the final sequence, then compare skin, white clothing and background colour across the set. This is especially useful for Kolkata boudoir photography, where warm interiors and coloured LEDs may already contribute competing tones.
Direction and posing should remain simple while lighting is being tuned. Ask the model to turn the chin, shift the shoulders and move the eyes through a few controlled variations before changing the entire setup. Watch where the coloured edge appears on the jaw, arm and clothing. For boudoir photography India portfolios and Asian model photography, these small adjustments preserve confidence and individuality without forcing the model into a generic lighting template.
A strong final sequence includes one clear hero portrait, a closer expression and one frame that shows more of the styling or environment. Cheetraview keeps those public previews SFW, accurately credits Tanisha Shaw and connects the images to her official profile and the studio lookbook. Explore those pages for the visible portrait story; for current public previews and eligible extended releases, visit the official Cheetraview Patreon page when relevant to you.
Current sources